Re-purpose small gift boxes and old Christmas cards to make a 3D winter shadowbox decoration or ornament:
Group a few of these together to make a small display, or disperse
them around your house to brighten little nooks and crannies. This is
also a fun little item to take to the office to bring some holiday cheer
to your desk or cubicle.
You can also hang these on the
Christmas tree -- just poke a hole in the top with a tapestry needle
and use cord or ribbon to create a hanger.
I found this idea for a shadowbox ornament in an issue of McCall's Needlework & Crafts from 1981, but I'm updating it a bit to make it easier and faster, of course. You might have known that I save all of the Christmas cards that are sent to me, so I have plenty of options for a shadowbox.
Materials:
- Gift boxes in various shapes, sizes, colors
- Christmas cards from years past
- Construction paper, card stock, scrapbook paper, and / or scraps of wrapping paper
- Piece of white scrap paper
- Ruler and / or paper trimmer
- Paper scissors
- Craft glue
- Pencil
- Embellishments such as sequins, trim, lace, raffia
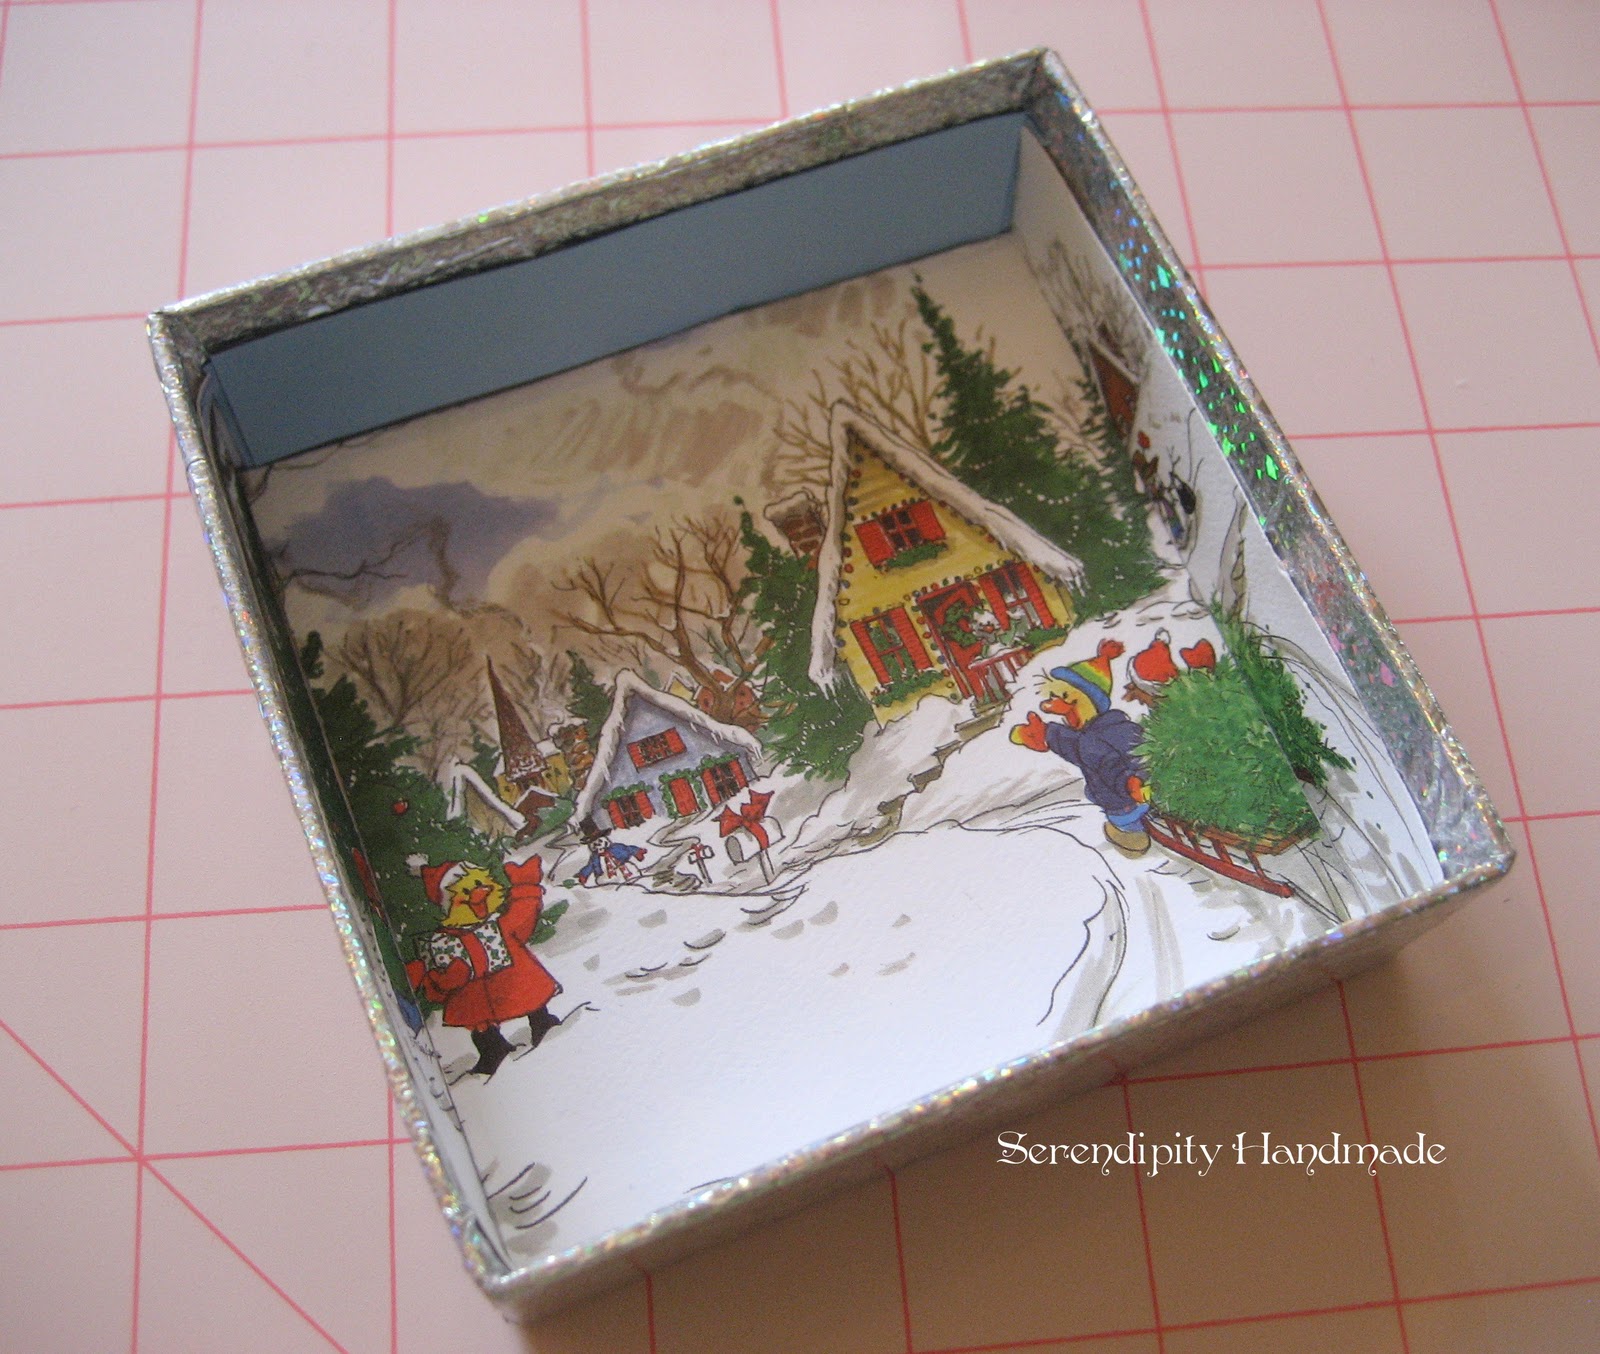
First, select your box. You can make these as large or small as you like. For the project above I chose a shiny silver gift box so I didn't have to decorate it. If you use a plain box you can cover it in wrapping paper scraps first as extra decoration.
Taking the piece of scrap paper, trace around the bottom of the box (the deeper side, the lid is too shallow for this project).
I used two cards to create the shadowbox above. Select your background card (mine is a Suzy's Zoo card). Now, using your scissors, cut out the inside of the squares on your scrap paper to create a "frame."
This will give you an approximation of how large to cut your background. Trace around the card with a pencil, and cut it out.
You will probably have to trim a tiny bit more off of each side so the background will fit inside of the bottom of the box. Go slow when cutting because you want the background to cover the entire back of the box with no gaps.
My card is a rectangle, so I had some leftovers. Save those to use as the sides of your shadowbox. I also used a small piece of blue construction paper to approximate
the sky, and some white scrap paper to continue the "snow" at the bottom
of my shadowbox.
When you are done trimming you should have the following pieces:
Next, glue all of your pieces down with your trusty craft glue. Glue the large background first, and then all four side pieces:
Next, cut your foreground image out of the second card. I chose this little guy in a snowsuit from the Mary Englebreit "Winter Schminter" card. Cut your image out with scissors or a craft knife.
Be sure to leave a little extra card underneath your image to form a tab. You'll use the tab to stand your image up when you glue it to the foreground (see the photo below):
Glue your image into the foreground of your shadowbox to create a three-dimensional look:
You're almost done! Add embellishments as you please to the inside or outside of your shadowbox for that little something extra. I used some tiny snowflake garland that I bought at the big-box craft store for this winter-scene shadowbox.
*I've got one more shadowbox to show you. I'll update this post as soon as I get it finished!*
This is an easy and fun project that I hope that you'll try!